
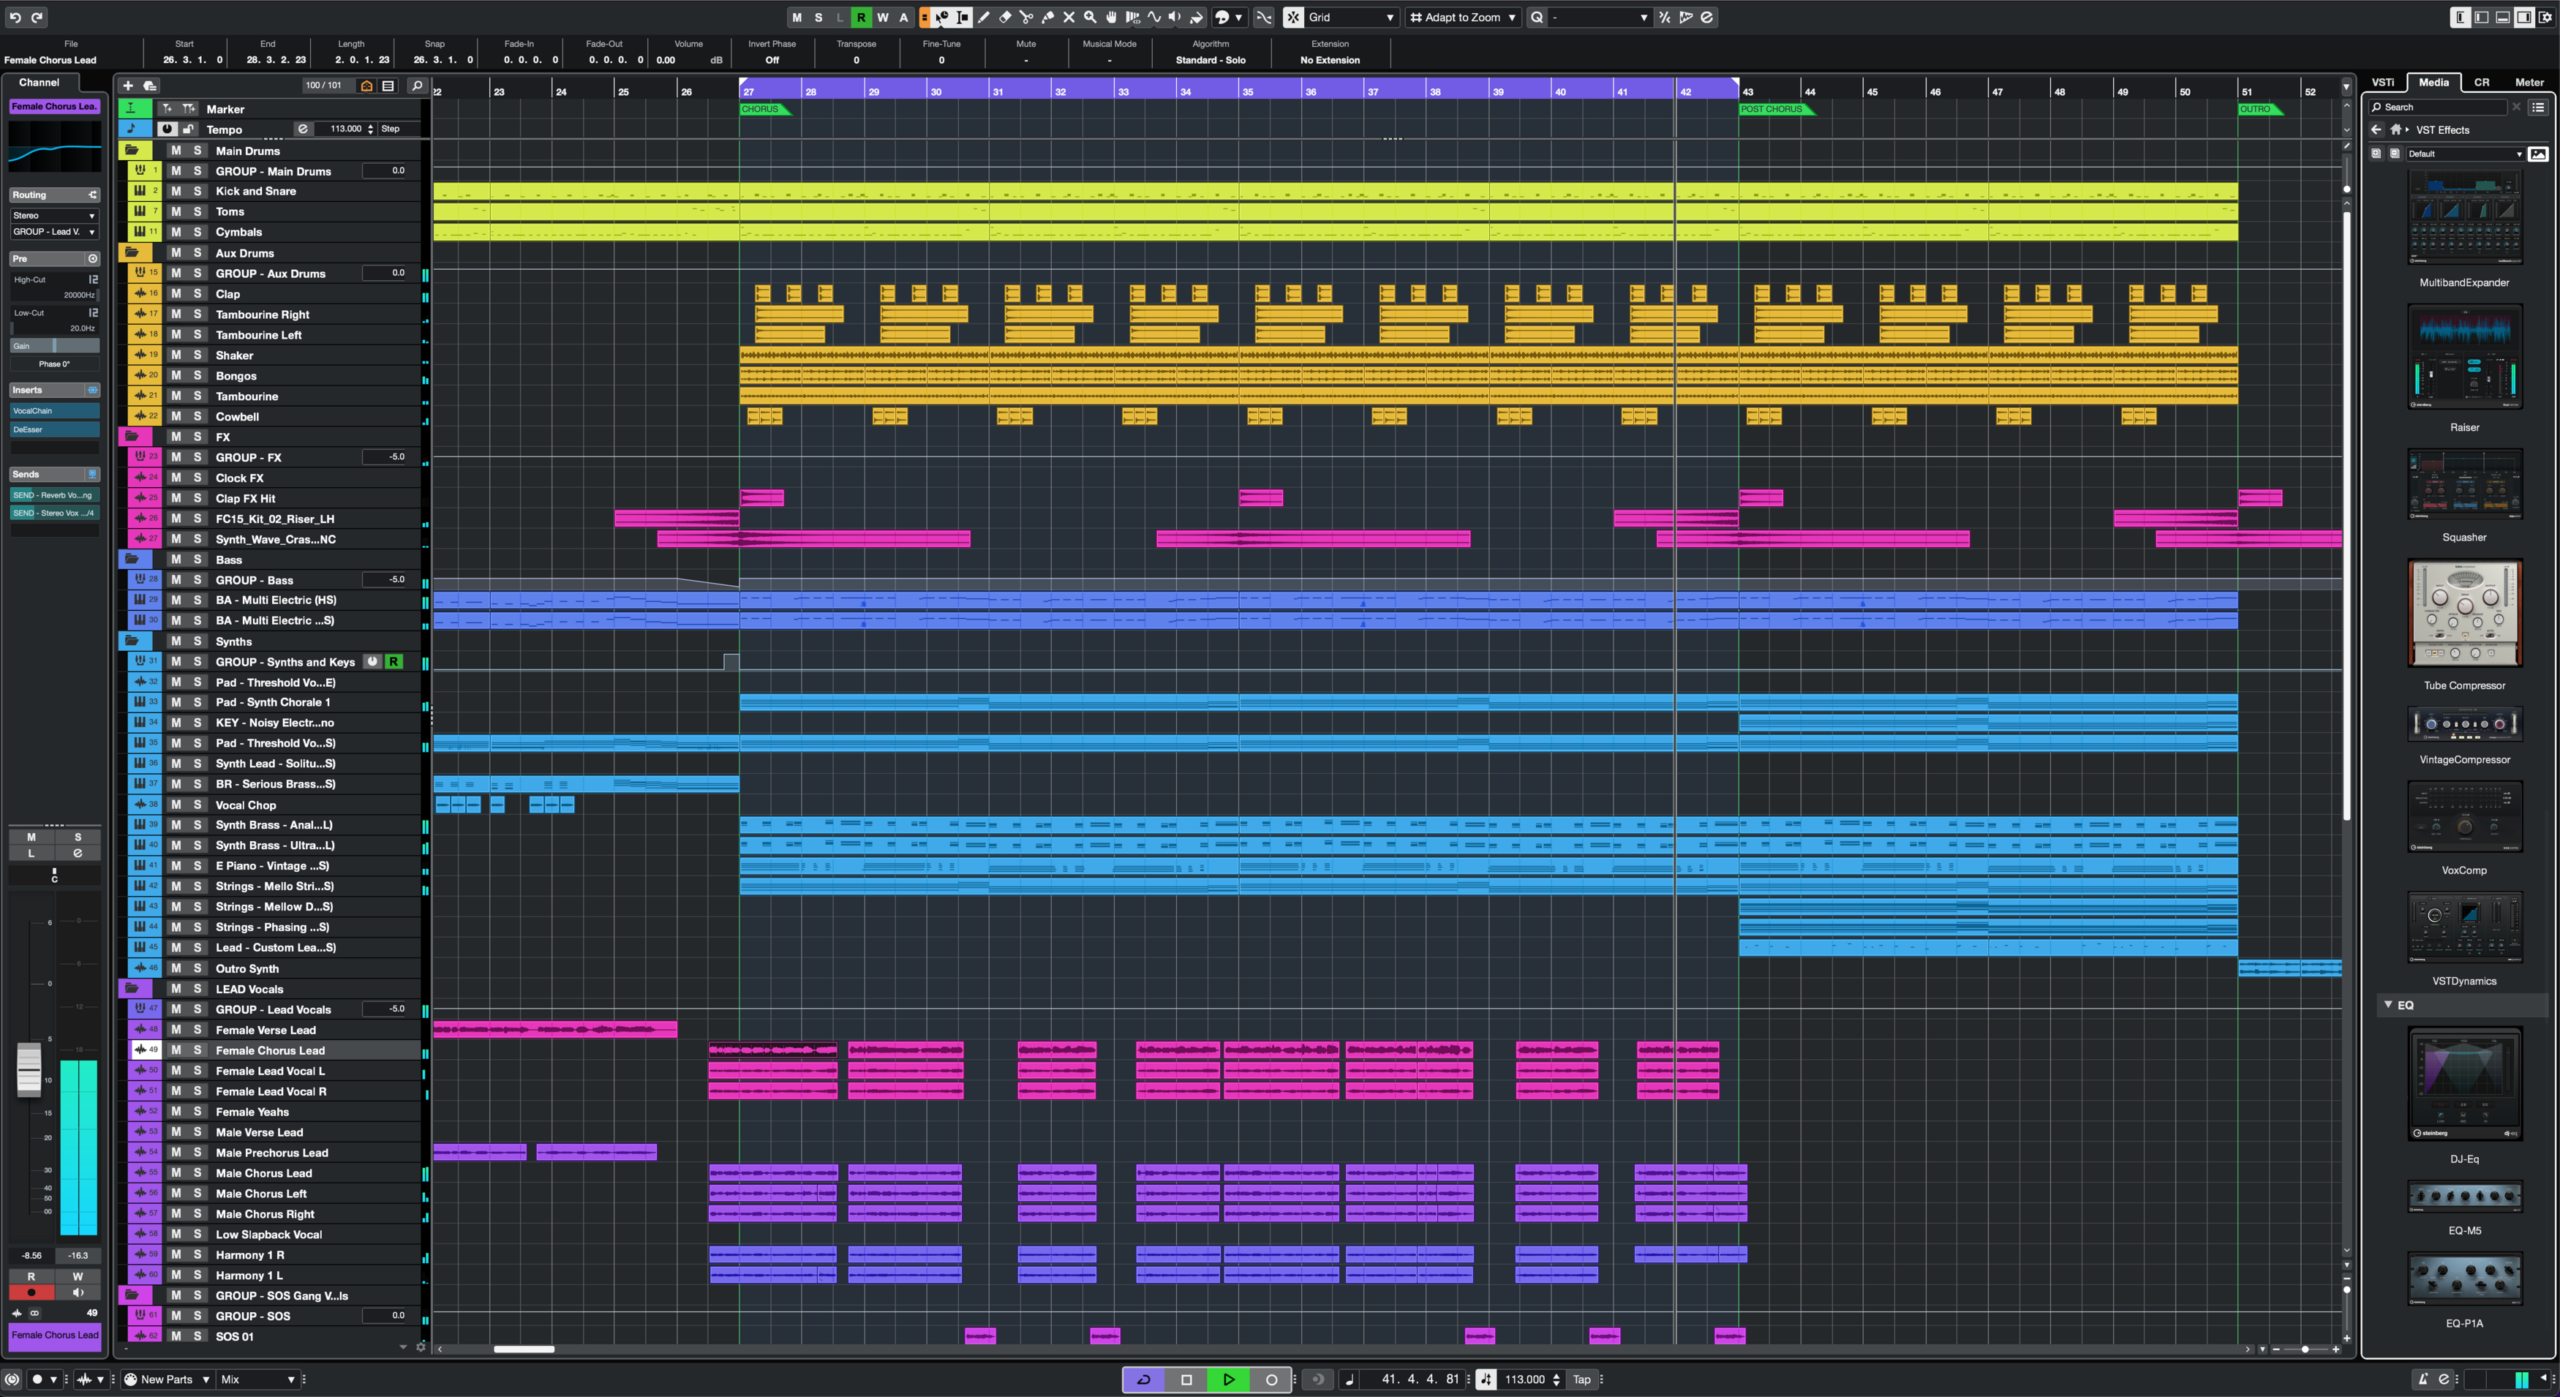
BURNT HOUSE / CUBASE PRO 16 / AUDIO EDITING
Time editing is often treated as a repair job: tighten a performance, stretch a phrase or make a loop fit the tempo. But changing time can also be a creative instrument. A vocal can become an atmospheric texture, a percussion hit can stretch into a transition and a short recording can become a new rhythmic layer.
Cubase Pro 16 adds Spectral AudioWarp to its audio editing toolkit. Spectral processing offers another way to manipulate the time behaviour of audio, particularly when a producer wants to work creatively with the internal content of a sound. The exact result depends on the source, the edit and the settings, so the best approach is to experiment on a copy and listen carefully.
Choose the right source
Not every sound responds equally well to time manipulation. A sustained pad, vocal texture or atmospheric recording may tolerate stretching differently from a sharp kick or a complex transient. Start with a source that has a clear creative purpose and make a duplicate before editing.
Protect the attack
Transients carry much of the identity of drums and plucked instruments. Excessive stretching can blur the attack or create unwanted smearing. If the transient is important, preserve it or separate it from the sustained portion before applying more extreme processing.
Use stretching as sound design
Try stretching a vocal tail to create a pad, turning a cymbal into a rising texture or transforming a short room recording into a long atmospheric bed. These techniques can produce material that feels connected to the original track because it comes from the same sonic world.
Check rhythm and phase in context
When editing layered sounds, make sure the result still aligns with the arrangement. Listen to the edited part with the kick, bass and other transient elements. A texture that sounds beautiful alone may obscure the groove or create phase interactions when combined with the original.
Keep the original and print experiments
Duplicate the event or track before destructive or complex editing. Print successful variations to audio so you can compare them without relying on a long chain of settings. Name the versions clearly and keep the source recording available.
Use the effect musically
Time manipulation is most interesting when it changes the listener’s perception of the arrangement. A stretched sound can signal a transition, create tension or connect two sections. If the effect is audible but does not help the music, it may be decoration rather than production.
Further reading
Continue with our guides to Stem Separation, MIDI editing and session workflow.
Compare the algorithms and settings on the same source
Make a duplicate of the event and test a conservative edit beside a more extreme one. Listen for transient definition, metallic artefacts, phasey movement and changes in tone. The best setting is not necessarily the one that creates the largest transformation. If the source is a vocal or instrument performance, preserve the phrasing and emotional detail that made the recording useful in the first place.
Use spectral editing as part of an arrangement
Print a few purposeful variations: a short transition, a sustained texture and a rhythmic fragment. Place them in the arrangement and decide whether they help connect sections or create a moment of contrast. Automate level and filtering where needed so the processed sound enters and leaves naturally. Avoid filling every gap; silence and the original recording may provide stronger contrast.
Keep an editable source archive
Retain the original audio, the edited event and any printed versions. Name the files by source and function, and note the tempo or musical position if the sound may be reused. This is especially important when the processing is complex or difficult to recreate. A well-organised source archive makes experimentation reversible.
How to use Spectral AudioWarp in Cubase Pro 16
Spectral AudioWarp is part of Cubase Pro 16’s new time-stretching and pitch-shifting algorithms. It is a Pro-edition feature, so check the official Cubase edition comparison if you are using Artist or Elements.
For an offline stretch, duplicate the event first, open Cubase’s Time Stretch process and choose the Spectral algorithm in the Algorithm section. Set the target length using bars, beats or the original and resulting BPM values, then audition the processed copy against the untouched source. The Time Stretch dialog lets you define the new duration or tempo without changing pitch; the algorithm selector determines how the audio is reconstructed.
Choosing the Spectral mode
- Universal: a sensible first test for varied material, including drums, instruments and full mixes.
- Complex: try this for dense harmonic material, rich instruments and complete mixes.
- Solo: a useful starting point for a solo vocal or instrument.
- Ensemble: intended for choirs, strings, horns and similar ensemble recordings.
- Universal Formant, Complex Formant, Solo Formant and Ensemble Formant: each pairs its corresponding mode with formant preservation, helping retain the resonant character of a voice or instrument while shifting pitch or stretching time.
These are starting points, not rules. Compare modes on the same short passage at the same stretch ratio. Listen for smeared attacks, metallic or watery textures, unstable stereo detail and changes in vocal or instrument character. The most extreme setting is not automatically the best one.
A practical sound-design exercise
- Duplicate a one-bar vocal phrase, guitar note or percussion hit and keep the original muted but available.
- Stretch the duplicate to several times its original length, then compare Universal, Complex and Solo where appropriate.
- Try the Formant version on a vocal or pitched instrument if the timbre becomes unnaturally bright or low.
- Render or retain a few contrasting results, trim them musically and use fades to control their entrances and tails.
- Place the new texture back into the arrangement. Check it against the kick, bass and original source rather than judging it only in solo.
For the exact algorithm descriptions, see Steinberg’s Cubase Pro 16 Spectral algorithm reference and its Time Stretch process documentation. For the wider feature context, read our Cubase Pro 16 review and our guide to working with stems after separation.