
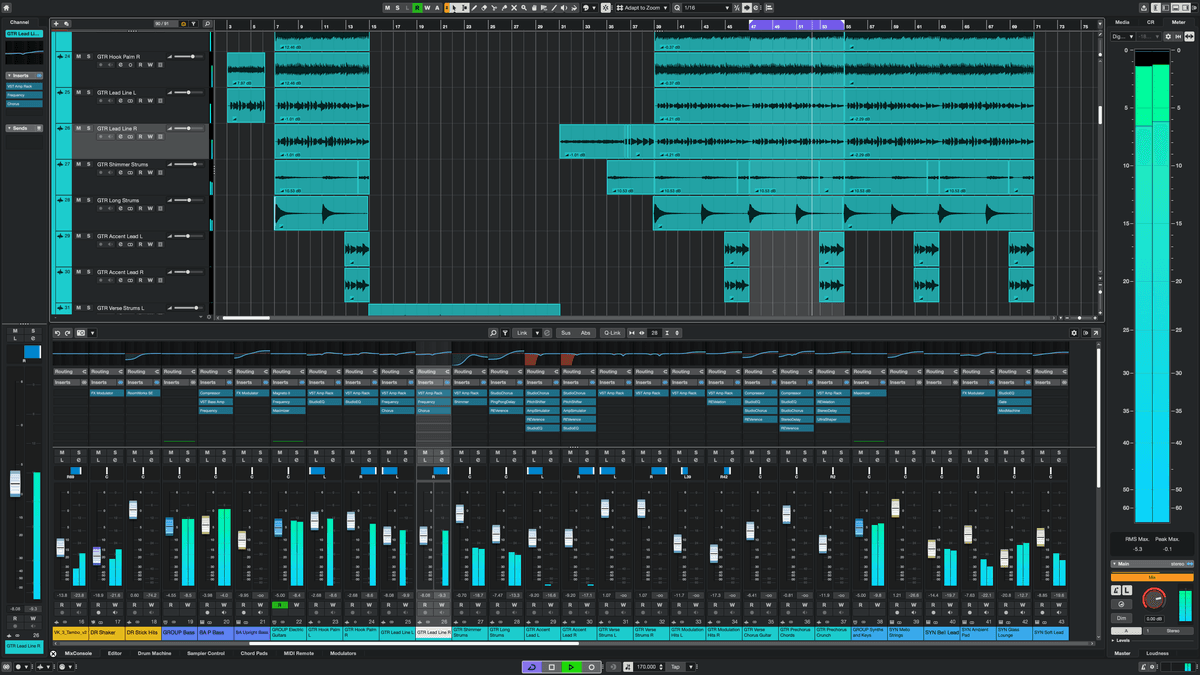
BURNT HOUSE / CUBASE PRO 16 / MIX AUTOMATION
A mix can be technically balanced and still feel static. The vocal sits at the same level from the first line to the last, the reverb never changes, the synth remains the same brightness and every section has identical energy. Automation is how a producer makes a mix respond to the arrangement instead of treating the whole song as one unchanging picture.
What automation is really for
Automation records changes to a control over time. That might be a channel fader, pan position, send level, plugin parameter, mute state or instrument control. The point is not to automate everything. It is to make a deliberate change that improves the musical experience.
Start with the most important performance
Vocal rides are often more useful than adding another compressor. Raise a quiet word, reduce a phrase that jumps forward and help the end of a line remain audible. Listen to the lyric and automate around its meaning. A word that carries the emotional centre of the chorus may need a little more space than the surrounding phrases.
Automate effects as part of the arrangement
Instead of leaving a vocal delay at the same level throughout, automate the send so it appears at the ends of selected phrases. Increase reverb in a breakdown, then reduce it when the full arrangement returns. A synth filter can open into a chorus, while distortion or modulation can increase during a transition. These changes make effects part of the composition.
Understand automation modes
Read, Write, Touch, Latch and related modes determine how Cubase records and plays automation. Use Read when you want to hear existing data. Write records continuous changes and can overwrite previous moves, so use it carefully. Touch records while a control is being moved and returns to the existing automation when released; Latch continues writing after the control is touched until playback stops. Exact behaviour depends on the selected mode and track settings, so check the automation controls before recording a pass.
Draw automation when precision matters
Drawing nodes is useful for exact transitions, mutes, filter sweeps and rhythmic effects. Use curves where a gradual movement feels more natural than a straight line. Avoid excessive nodes; they make later editing difficult and can create abrupt changes that are hard to hear visually.
Use automation to create contrast
Automation can change the perceived energy without adding new instruments. Pull the drums down for a vocal phrase, narrow a synth in the verse and widen it in the chorus, or automate a delay throw into a gap. The listener should feel the change, not necessarily notice the automation itself.
Keep automation organised
Name important automation lanes, use track versions before major edits and check that plugin parameters are still correctly linked after changing instruments or presets. When a project is handed to another producer, make the important moves easy to find.
A practical pass-by-pass method
- Listen to the whole track and note moments where energy or clarity changes.
- Ride the lead vocal or main melodic element.
- Automate effects sends at selected phrase endings.
- Shape transitions and section changes.
- Revisit the mix at low volume to check whether the main idea remains clear.
- Save a new version before detailed automation edits.
Continue with our guides to groups, buses and FX returns, session workflow and vocal production.
Build a useful automation plan before touching the controls
Start by listening to the arrangement without looking at the screen. Write down the moments that need a change: a line that disappears, a chorus that needs more lift, a transition that feels abrupt, or an effect that should briefly become part of the foreground. This short map prevents automation from becoming a collection of random movements. Give each move a job and decide whether it belongs to the source track, a group, an FX send or a shared instrument bus.
For a vocal, separate corrective rides from creative moves. Corrective rides keep words intelligible and even out phrases before compression has to work too hard. Creative moves change the emotional perspective: a phrase can move forward, a whisper can recede, or the final word of a chorus can bloom into a delay. Keeping those intentions separate makes revisions easier.
Automate the source or the effect?
When a sound needs to become louder, first decide whether the change should affect the dry signal, the processed signal or both. A channel-fader move after the inserts changes the balance of the whole channel. A pre-insert gain move changes how hard processors are driven. A send automation move changes only the amount feeding an effect. These are not interchangeable. If a vocal is too quiet but its reverb is already right, ride the dry level rather than raising the entire channel and making the reverb louder too.
For filter sweeps, distortion and modulation, consider automating the plugin parameter itself. Make a deliberate start and end point, then listen for zipper noise, abrupt parameter jumps or an effect that draws too much attention. Some plugins smooth parameter changes; others respond in a more stepped way. Render or record the result if a complex plugin state needs to be preserved for delivery.
Editing automation without creating a mess
Zoom in for precise phrase rides, but zoom out regularly to check the musical shape. Use a small number of nodes to describe the movement rather than drawing dozens of tiny corrections. If you need to change a whole section, select and move a group of points rather than rebuilding the curve. Keep automation lanes visible for the controls that matter and hide or close lanes that are no longer being edited.
Before recording a pass, confirm the automation mode and the track’s automation status. Write can replace existing data across a pass; Touch and Latch behave differently after you release the control. Test a short section first, stop playback, undo if necessary and confirm that the original moves remain. Save a new project version before a major automation session.
Automation troubleshooting: five common problems
- The fader moves but the sound does not: check whether the track is in Read and whether the correct automation lane is active.
- The effect jumps unexpectedly: inspect existing nodes and plugin parameter scaling; a value change may not be linear in what you hear.
- A send becomes louder in the chorus than intended: check whether the send is pre- or post-fader and whether both send and channel level are being automated.
- Old moves disappear: review the Write/Touch/Latch mode and undo immediately if a pass overwrote data.
- The mix sounds overworked: bypass the automation temporarily and ask whether each move improves the song, not merely whether it is audible.
Make automation part of the final mix review
Listen from beginning to end at normal level, then at a quiet level. Check the first and last bars, section transitions, vocal endings and any automation that crosses a loop or cycle boundary. Compare the automated mix with a level-matched version that has the most obvious moves bypassed. The goal is a more expressive record, not a demonstration of how many parameters Cubase can control.