
BURNT HOUSE / PRODUCTION CRAFT / LISTENING
Good production depends on decisions you can hear. You do not need perfect pitch to recognise when a bass note is out of tune, a vocal is too harsh, a compressor is flattening a performance or a groove is losing its movement. Ear training is simply the practice of noticing more accurately.
Train the ear you actually use in the studio
Traditional ear training often focuses on intervals and chords. Producers also need to recognise frequency balance, dynamics, stereo position, transient shape, distortion, ambience and rhythmic feel. You can train all of these skills with short, repeatable exercises.
1. Pitch and intervals
Play two notes on a keyboard or instrument. Listen to whether the second note moves up or down and whether the distance feels small or wide. Start with familiar melodies and use them as memory anchors. Then test yourself with random intervals. The goal is not to name every note instantly; it is to hear melodic relationships more confidently.
2. Chords and bass movement
Play a simple triad, then change one note at a time. Listen to how the emotional character changes. Practise hearing the root in a chord and following the bass notes through a progression. This helps when tuning 808s, writing basslines and choosing voicings.
3. Rhythm and microtiming
Program a basic kick and snare pattern. Duplicate it, then move one hat or percussion hit slightly ahead or behind the grid. Compare the feel without looking at the screen. Repeat with velocity changes and ghost notes. Listen to how groove comes from timing, accents and the relationship between parts.
Our guide to microtiming, velocity and ghost notes takes this further.
4. Frequency recognition
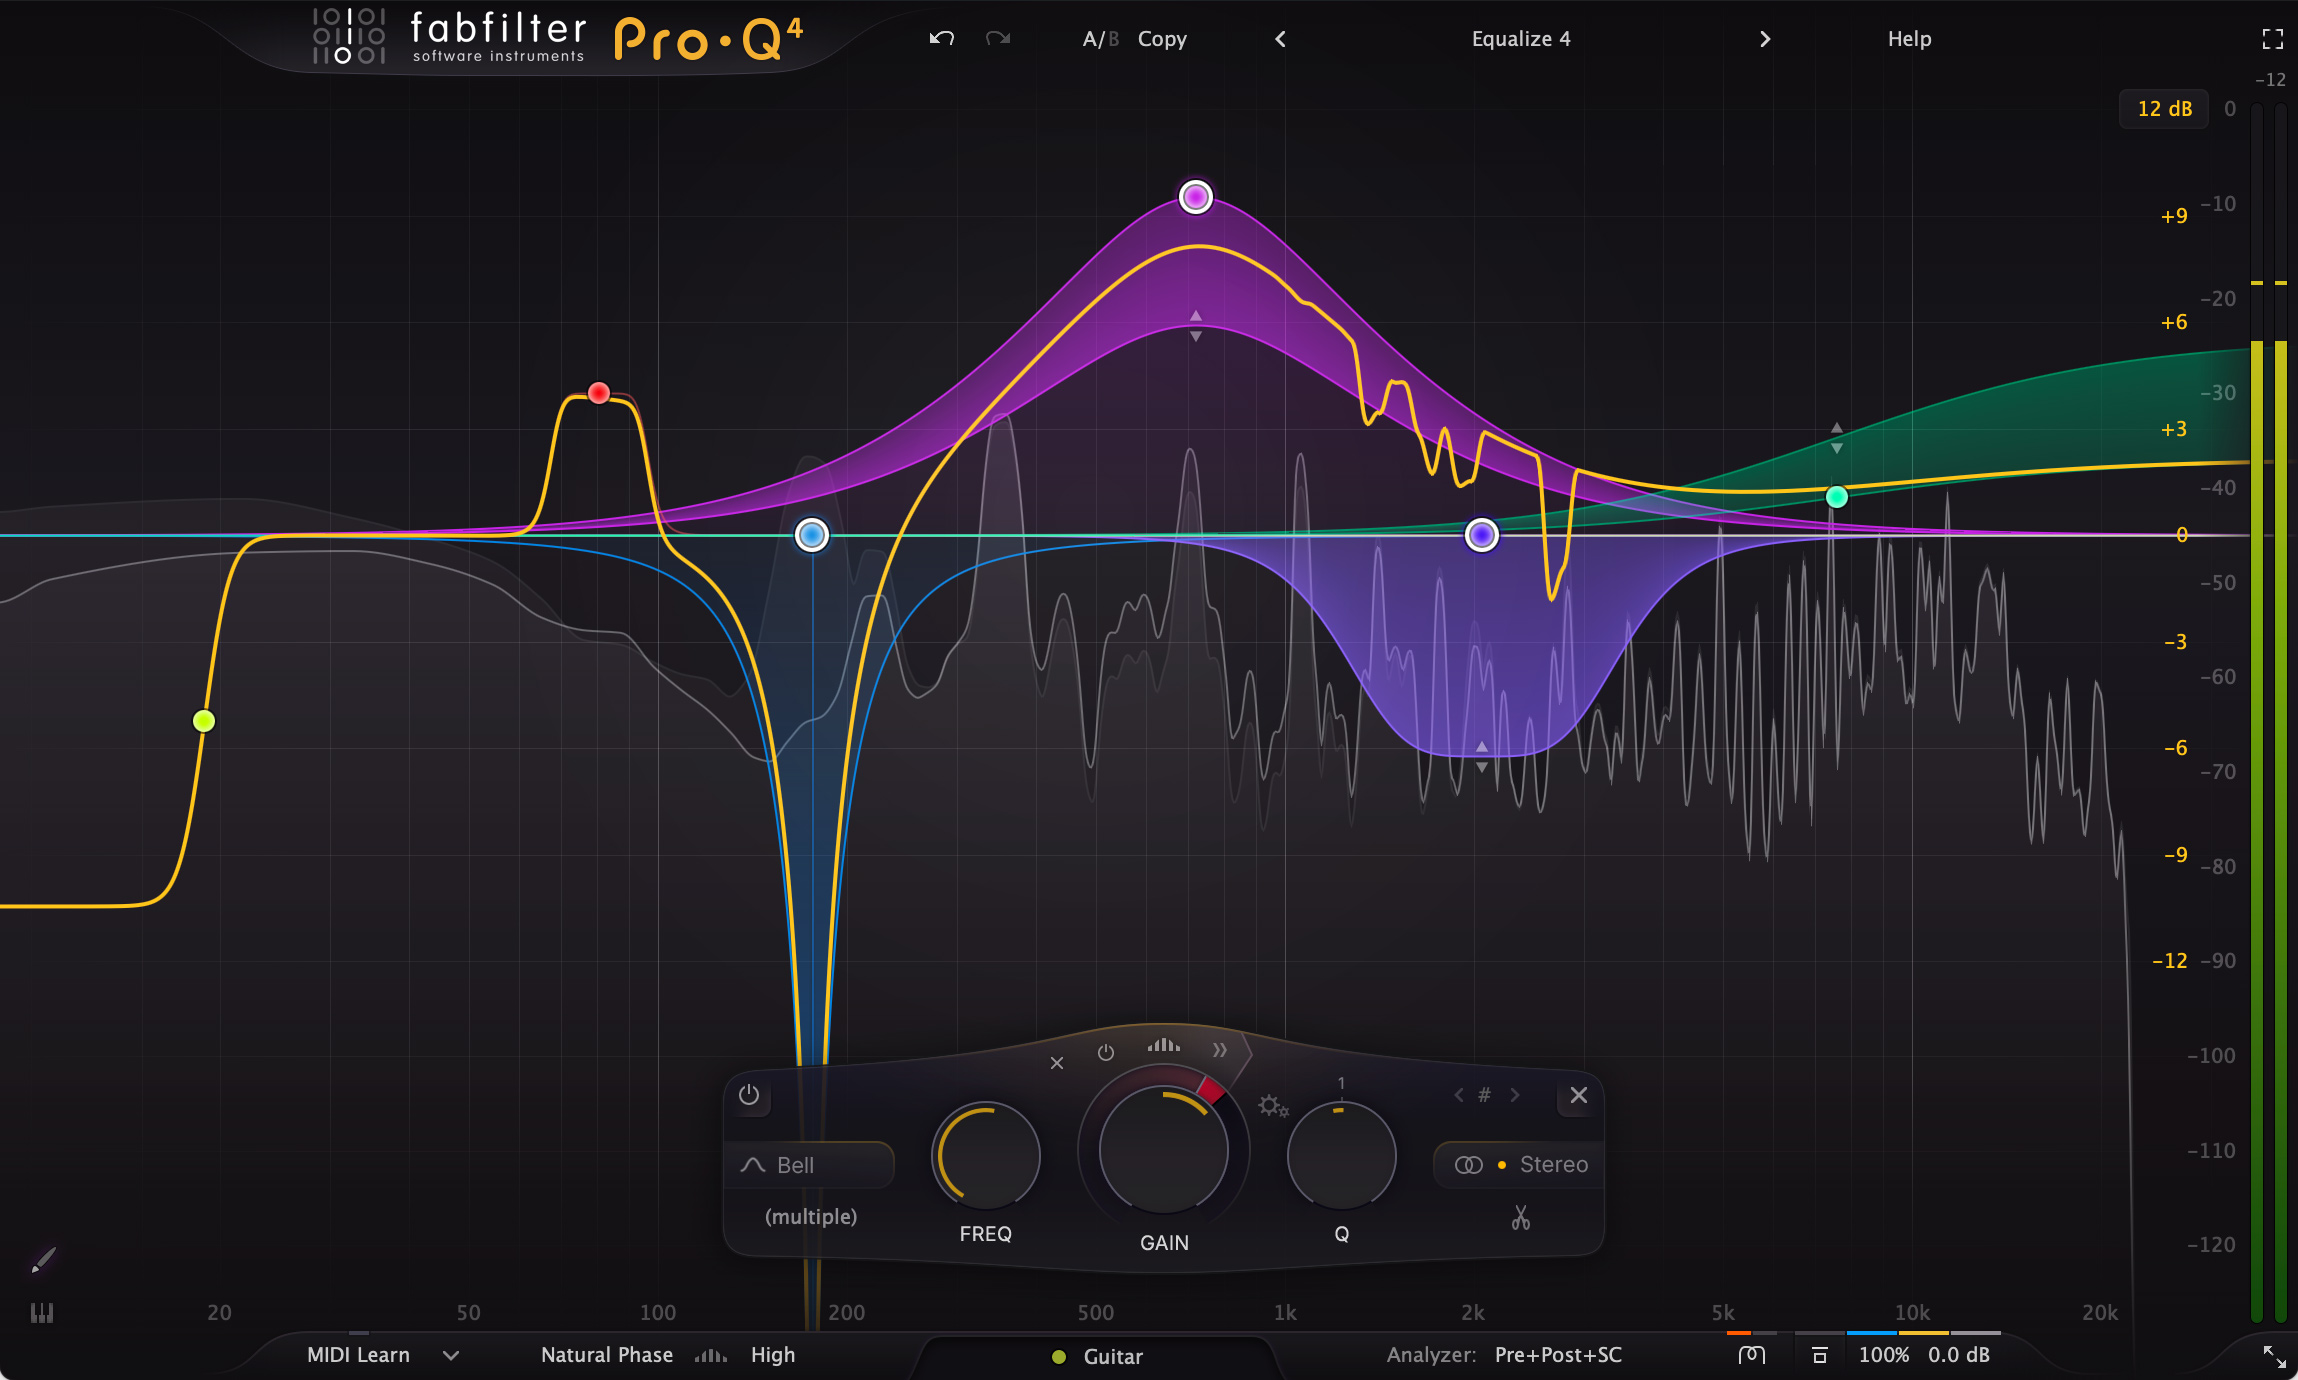
Use a bell or narrow EQ boost to explore broad frequency areas. Learn the difference between low-end weight, low-mid warmth, midrange presence, upper-mid bite and high-frequency air. Then use a cut instead of a boost and identify what disappears from the sound. Keep the level matched so louder does not automatically seem better.
Practise on different sources: kick, bass, vocal, piano, guitar and full mix. The same frequency can feel very different depending on the instrument and arrangement.
5. Compression and dynamics
Take a vocal or drum loop and compare it unprocessed with a compressed version at matched loudness. Listen for transient change, sustain, movement and pumping. Change attack and release one at a time. Learn to hear when compression is controlling peaks and when it is removing the life from a performance.
6. Stereo width and depth
Compare a centred mono source with a wide stereo version. Listen for the position of the sound, the sense of distance and what happens when you collapse the mix to mono. Add reverb or delay to a dry sound and notice how early reflections, decay and pre-delay change the perceived space.
7. Distortion and harmonics
Use a sine wave or clean bass sound. Add gentle saturation, then stronger distortion. Listen for the new harmonics and how the sound becomes more audible on small speakers. Compare the processed version at the same perceived loudness rather than assuming the louder one is better.
A 15-minute daily routine
- Three minutes: pitch and interval recognition using a keyboard or reference app.
- Three minutes: clap or program a rhythm, then reproduce it without looking.
- Three minutes: identify a frequency area using a narrow EQ band, then check your guess.
- Three minutes: compare compression, saturation or reverb at matched loudness.
- Three minutes: listen to a reference track and write down three specific observations about arrangement, tone and space.
Use references without copying them
Choose tracks that translate well on systems you know. Listen at a consistent level and compare one feature at a time: kick length, vocal brightness, bass movement, stereo width or arrangement density. Avoid trying to judge every part of a reference in one pass.
Our guides to checking mix translation and mastering for translation offer practical listening checks.
Ear training for podcasters: listening to the voice
The same listening habits help podcast producers and presenters. Instead of starting with plug-in names, practise identifying the problem by ear: plosives that overload the low end, sibilance that makes consonants uncomfortable, room reflections that blur speech, background noise between phrases, or compression that makes a voice feel lifeless. Listen for whether the voice remains clear on headphones, laptop speakers and a phone.
A useful exercise is to take a short spoken recording, listen once without looking at the waveform, and write down the three things that distract you most. Then make one change at a time—such as reducing a harsh frequency, controlling a plosive or adjusting the room tone—and compare the result at matched loudness. This builds the same kind of critical listening that a music producer uses when balancing vocals and instruments.
A five-minute ear-training routine for podcasters
- Listen once without looking. Play a short section through headphones or speakers with the waveform and meters hidden. Note the three things that make the voice harder to understand or less comfortable to hear.
- Listen between phrases. Focus on the gaps rather than the words. Notice room tone, computer fan noise, hum, traffic, mouth clicks and abrupt edits. Separate a steady background sound from one-off distractions; they need different fixes.
- Train your ear for tonal problems. Listen for plosives that create a low thump, boxy or nasal tone, and sharp sibilants. If you use an EQ, make a gentle temporary boost and sweep slowly to locate the area that bothers you, then remove the boost and try a small correction. Do not assume the same frequency is a problem on every voice.
- Compare dynamics. Listen to the uncompressed recording and then a compressed version at similar loudness. Notice whether quiet words become easier to hear, or whether breaths, room noise and mouth sounds rise too much between phrases. Listen for pumping and flattened emphasis.
- Check translation. Play the edited voice at a quiet level on headphones, then on a laptop or phone speaker. You should still understand every sentence without needing to turn it up. A voice that sounds impressive only on studio headphones is not finished.
For the recording side of this process, see our practical Cubase vocal recording and comping guide, then explore the wider vocal production and mixing guide. The goal is not to make every voice sound the same; it is to hear what the speaker is communicating and remove distractions without stripping away character.
Keep notes on what you hear
Write down what you think you hear before looking at the analyser or plug-in settings. Then check your judgement. Over time, this builds a personal reference library and helps you trust your ears instead of reaching for a preset every time something feels wrong.
The takeaway: ear training is not a test you pass. It is a habit of listening with intention. A few minutes every day can make your decisions faster, clearer and more musical.