
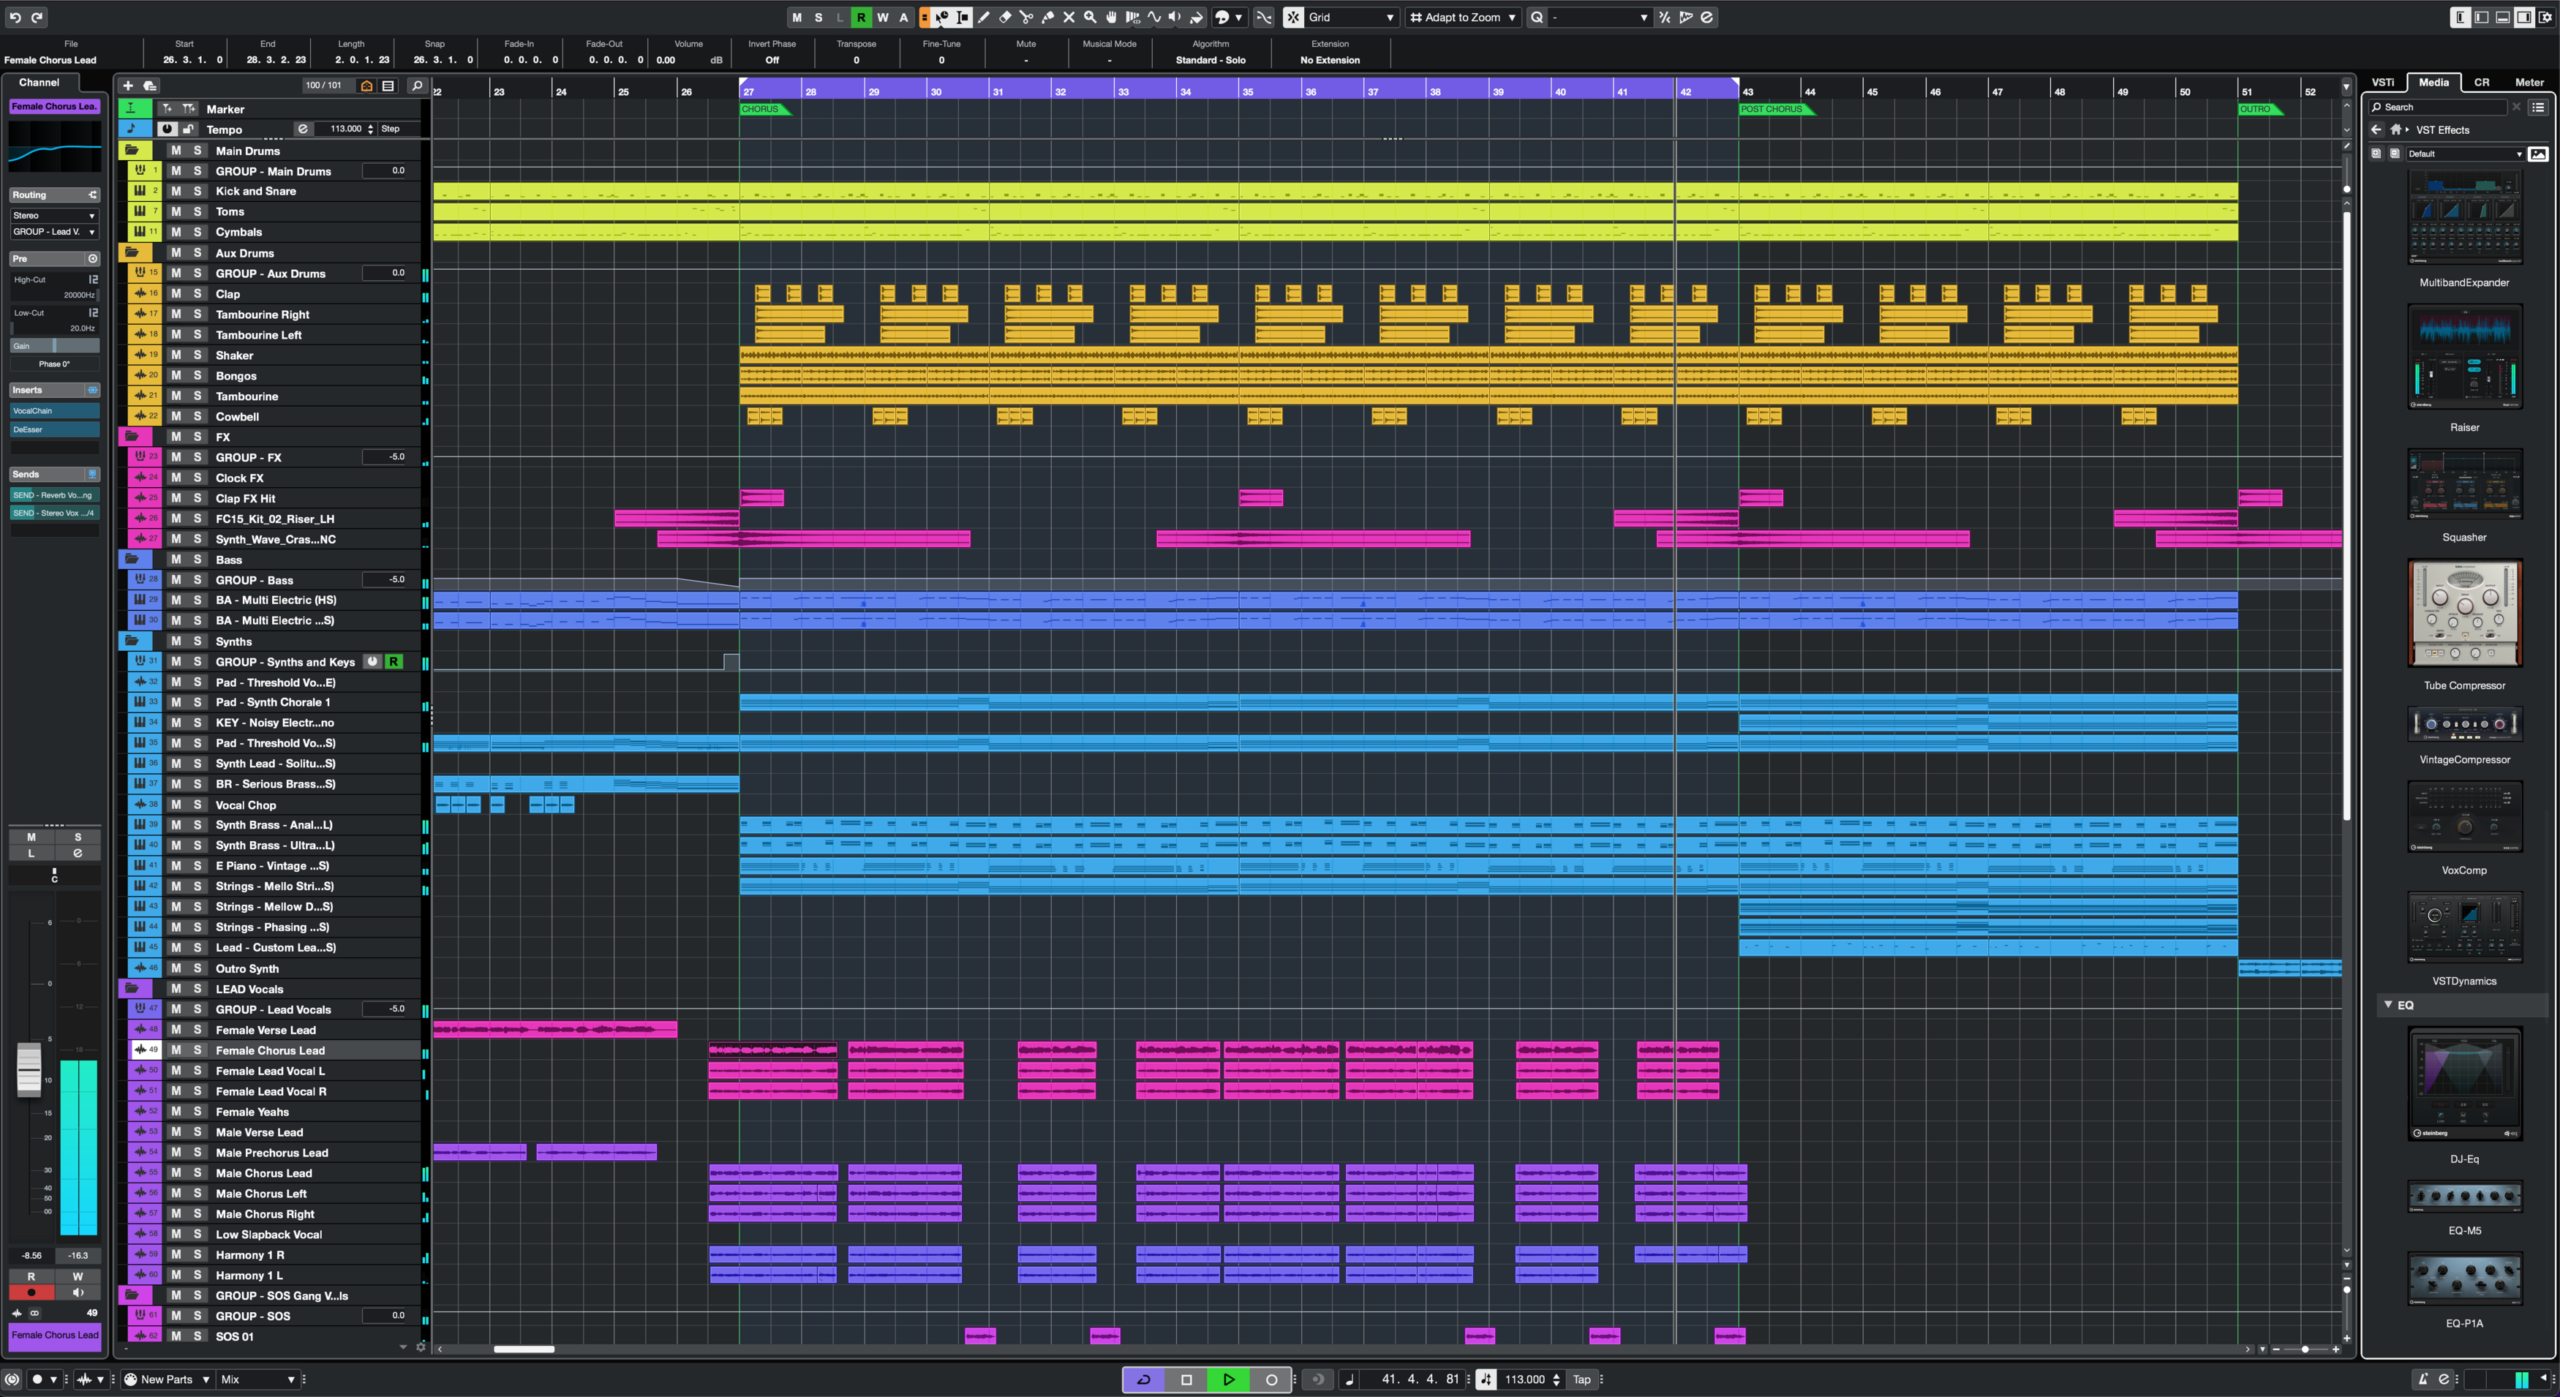
BURNT HOUSE / DAW WORKFLOW / CUBASE PRO 16
A new Cubase installation is only the beginning. The real test is whether the DAW, audio interface, instruments, plug-ins and monitoring system behave reliably during an actual session. This guide walks through a sensible setup process for Cubase Pro 16 before you start building large projects.
Start with the correct audio driver
Cubase 16 uses a different route for selecting the audio device. On macOS, open Cubase > Preferences… > Audio. On Windows, open Edit > Preferences… > Audio. Select the driver for your interface; on Windows, use its dedicated ASIO driver where one is available. Open the driver control panel from this page when you need to adjust hardware-specific settings. Install the latest driver from your interface manufacturer before troubleshooting dropouts or missing inputs. Steinberg confirms these Cubase 16 menu paths in its audio-interface setup guide.
Next, open Studio > Audio Connections… or press F4. Use the Inputs and Outputs tabs to check the busses and their hardware Device Port assignments. Add mono or stereo busses to match the physical connections you need, then select the appropriate input bus on each audio track. A hardware channel that is not assigned to a bus will not be available for recording or playback in Cubase.
Choose a buffer size for the job
Low buffer settings reduce monitoring latency but increase the real-time workload on the computer. Higher settings provide more processing time and are often more comfortable when mixing large sessions.
- Recording and playing virtual instruments: begin with a low or moderate buffer and test the actual round-trip latency.
- Editing and mixing: increase the buffer if the project is stable and you do not need to play live through software monitoring.
- Heavy plug-in sessions: test a larger buffer and review ASIO-Guard rather than immediately freezing every track.
For Cubase’s processing options, open Edit > Settings > Audio > Advanced. The Advanced page includes ASIO-Guard controls and driver information. The buffer size itself is normally adjusted in your audio interface’s driver control panel, opened from the Audio preferences; availability and exact controls depend on the driver. There is no universally correct buffer size: the useful setting depends on the interface, computer, sample rate, plug-ins and the way you monitor. See Steinberg’s Cubase 16 Audio Advanced documentation.
Understand ASIO-Guard and real-time processing
ASIO-Guard can prepare processing for tracks that do not need immediate real-time input, helping demanding projects run more smoothly. It is not a magic fix for every crackle or dropout. Live-monitored tracks, external instruments and some plug-in configurations may behave differently, so test the setting with your real session rather than copying a number from someone else’s system.
Cubase 16 also extends the ASIO-Guard pre-processing buffer according to Steinberg’s release notes. This is one of the less flashy changes worth testing in a large project.
Build a template around your actual workflow
A useful template should remove repeated setup work without forcing every song into the same arrangement. Start with clearly named groups for drums, bass, instruments, vocals and effects. Create the buses you regularly use, but leave space for the project to grow.
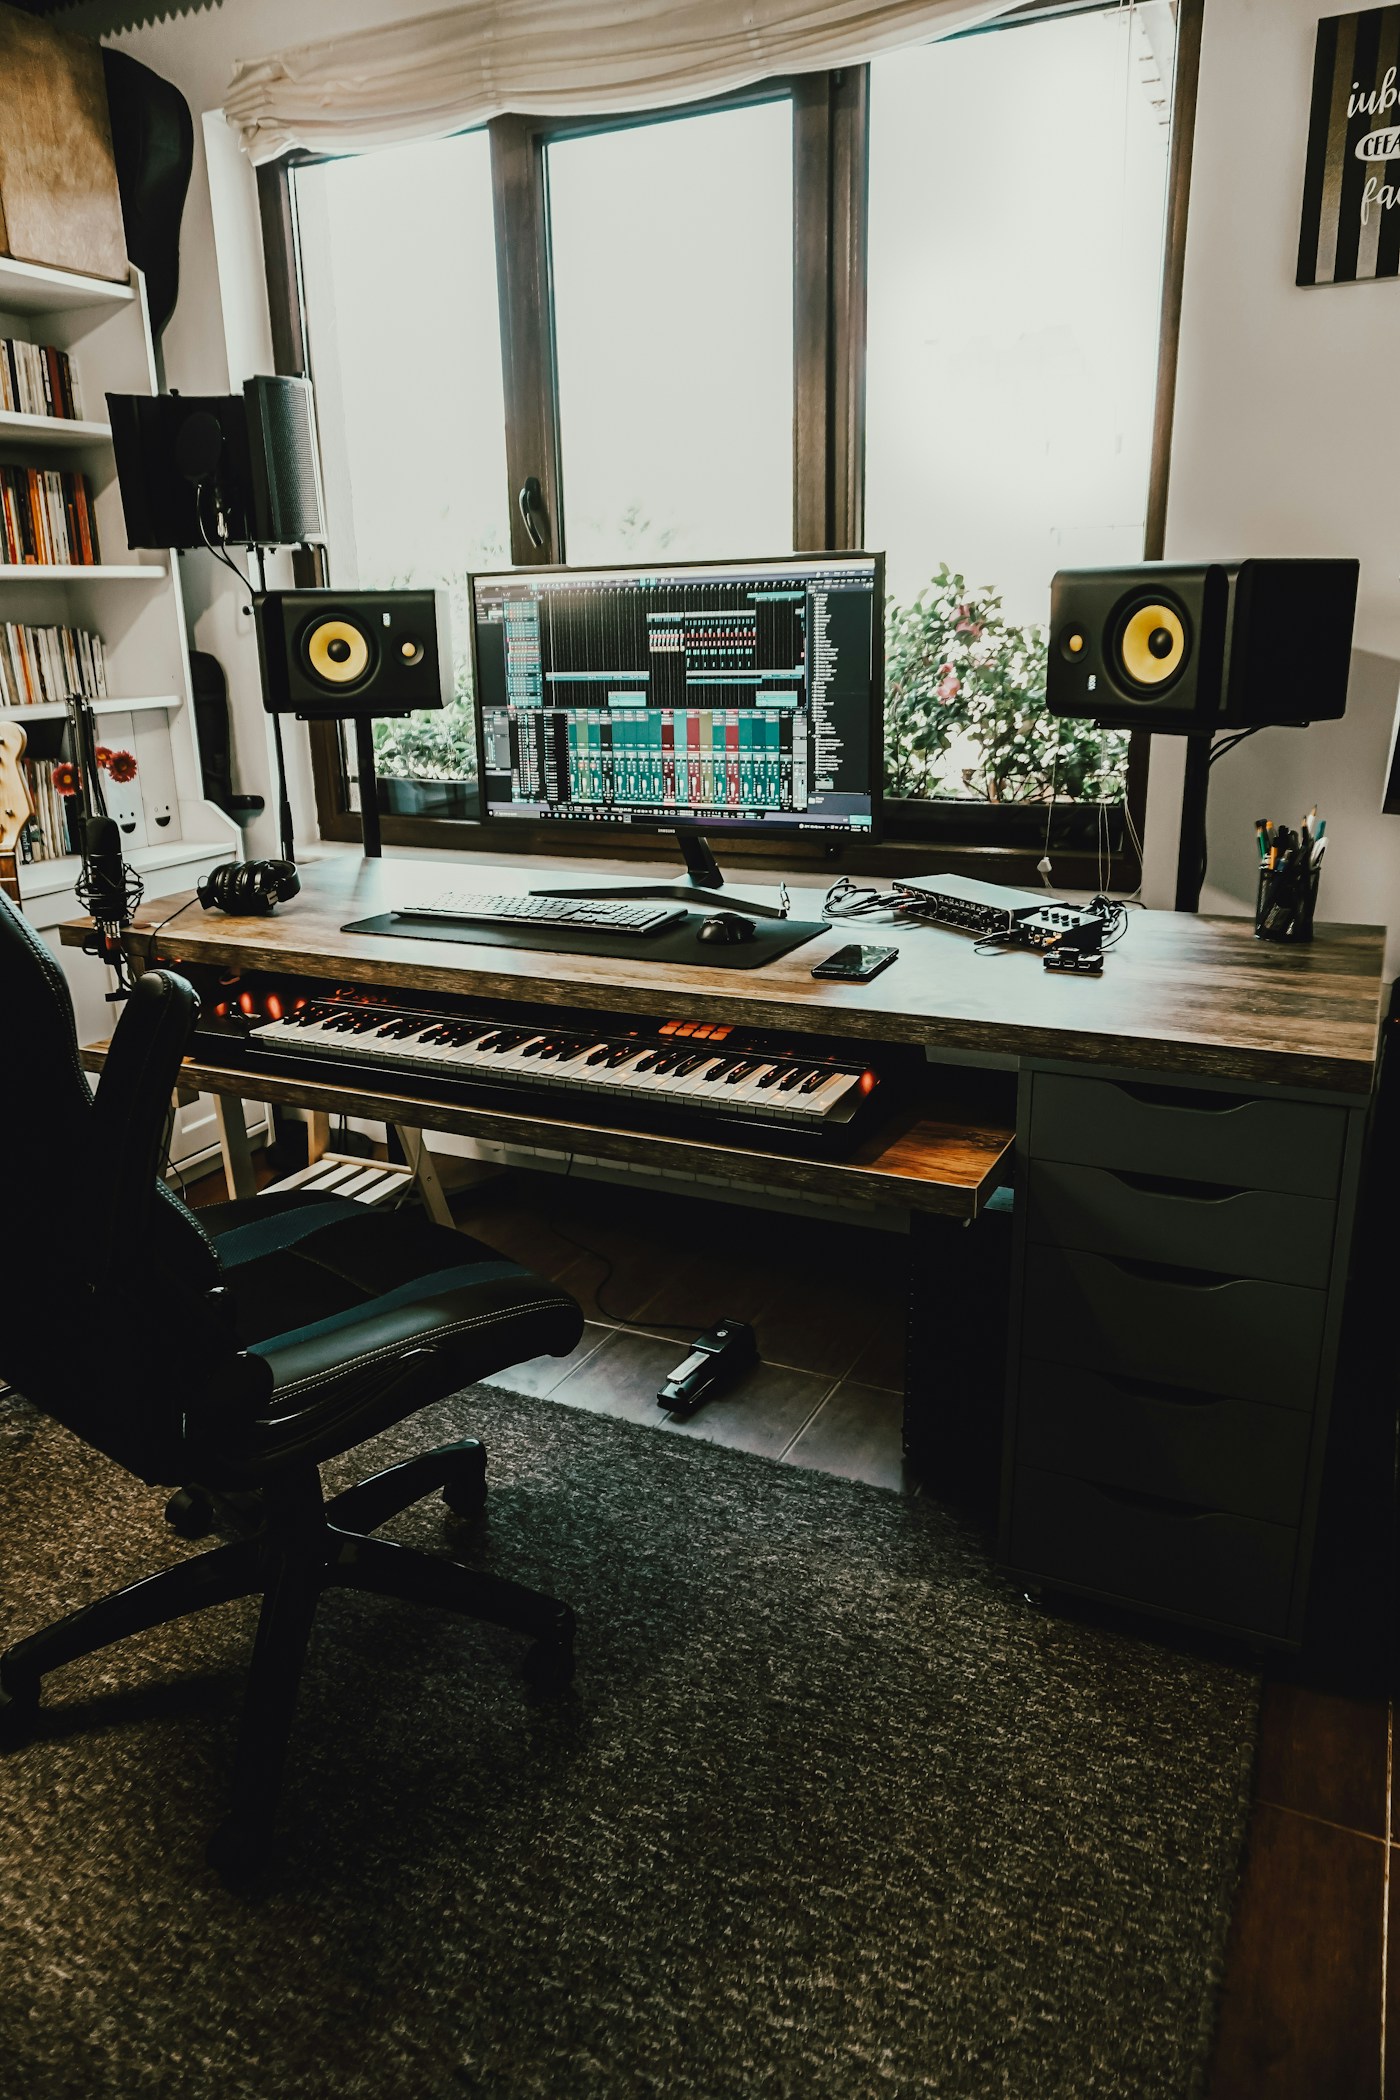
For a hybrid studio, label MIDI tracks and audio returns by instrument. Keep the MIDI destination, audio input and monitoring path obvious. For hardware synths and drum machines, confirm whether the instrument is being monitored through Cubase, the interface mixer or both; accidental double monitoring can create comb filtering and confusing latency.
Use Cubase 16’s workflow changes
Several Cubase 16 additions are worth incorporating into a modern template and session routine:
- Redesigned Settings: use the searchable workspace to find preferences, key commands and audio connections more quickly.
- Instrument Stacks: combine compatible instruments into one playable layered track when that makes the arrangement easier to manage. See our Instrument Stacks setup and layering guide.
- Tempo Detection: use the redesigned workflow when importing recordings or matching a project to existing audio.
- Key Editor Strum and Stretch: shape chord timing and note lengths without manually moving every event. Our MIDI Strum and Stretch tutorial explains the Inspector controls and Stretch Selection workflow.
- Expanded sends and Cue Sends: plan effect returns and headphone mixes with the additional routing capacity available in Pro. See the deeper guide to Cubase groups, buses and FX returns.
- Stem Separation and Spectral AudioWarp: treat these as creative editing tools, then listen for artefacts before committing them to a final mix. Start with the Stem Separation workflow or the Spectral AudioWarp tutorial.
A real-world note from a UAD-based studio
In our own recent Cubase Pro 16 testing, we noticed occasional audio glitches while Cubase was running alongside apps such as Splice and Arcade. Adjusting the UAD control-panel configuration improved stability significantly, although one brief glitch still occurred during a longer session. This is one studio’s experience, not evidence of a general Cubase 16 fault. It is a useful reminder to check the interface’s own driver and control-panel settings as well as the DAW’s buffer and processing options.
A quick stability checklist
- Install the current interface driver and confirm the device is selected in Cubase.
- Match the sample rate across Cubase, the interface control panel and any connected digital hardware.
- Check every input and output bus against the physical connections.
- Test a simple project before opening a large template.
- Increase the buffer for mixing if low-latency monitoring is no longer required.
- Temporarily bypass third-party plug-ins if a project begins glitching, then re-enable them systematically.
- Check CPU and real-time performance meters while reproducing the problem.
- Save a clean template only after the routing and monitoring have been tested.
When something glitches, isolate the cause
Do not change five settings at once. Reproduce the issue in a simple project, note whether it happens during playback, recording or plug-in loading, and change one variable at a time. Test the interface driver, buffer, sample rate, ASIO-Guard and plug-ins separately. If the issue disappears when a particular plug-in or external device is bypassed, you have a more useful lead than a random collection of settings changes.
Keep learning Cubase 16
This is a setup guide, not a replacement for the official manual or the release notes. Steinberg’s Cubase 16 Settings Dialog documentation confirms the new Settings workspace and searchable layout. Feature availability varies by edition, so check the official Cubase 16 feature overview and Cubase 16 release notes for the exact details of your version.
Continue with our Cubase Pro 16 review, the practical Cubase Pro 16 template guide and the dedicated tutorial on recording and comping vocals in Cubase 16.